
Practical wrapping
How to Wrap an Awkward-Shaped Gift
Stop trying to make wrapping paper behave like shrink-wrap. The useful question is not “How do I force paper around this?” It is “Should I contain it, disguise it, soften it—or make the strange shape part of the presentation?”
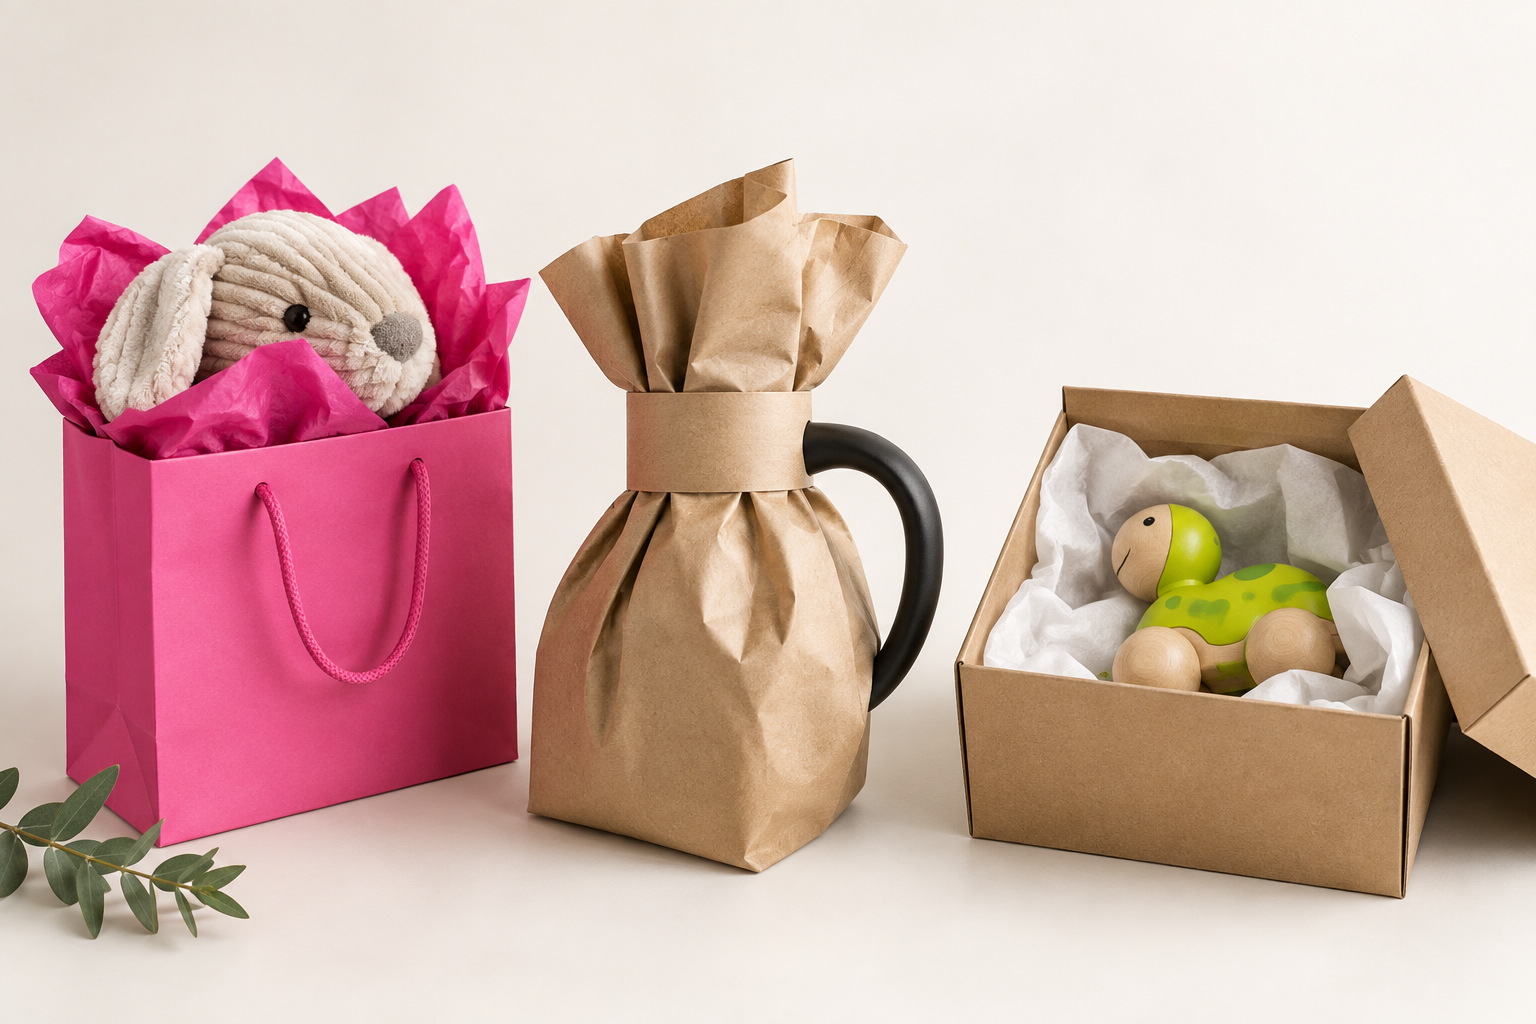
Choose the method before you cut paper
It is soft or squashy
Use tissue and a bag, or bundle it in fabric. Good for clothing, plush toys and textiles.
It has fragile or protruding parts
Box it. Protect the object before decorating the container. Good for toys, decor and anything with an antenna, spout or lever.
It has a useful handle
Wrap the body and leave the handle accessible. Finish the opening with a paper collar or tissue.
It is huge or unmistakable
Use a strategic partial wrap, fabric cover or reveal. A bicycle does not become more gift-like because you used eleven taped-together sheets.
Method 1: Put a structure around it
A plain box is not surrender; it is geometry doing you a favour. Choose a box only slightly larger than the object. Pad fragile projections with crumpled paper or clean tissue, then test the lid before wrapping. If the object moves when the box is gently tilted, add more support around it—not only on top.
- Protect delicate points or surfaces first.
- Place cushioning underneath and around the object.
- Fill movement gaps without compressing fragile pieces.
- Close the box and wrap the simple rectangle normally.
Choose this when: the shape is fragile, sharp, valuable or likely to punch through paper. The box is part of the protection, not decorative filler.
Method 2: Use a bag properly
Bags are ideal for plush toys, balls, helmets, soft goods and objects whose shape does not need protection. The difference between “intentional” and “gave up” is proportion. The bag should not swallow the gift or strain around it.
- Line the bottom with one or two sheets of tissue.
- Place the heaviest part of the gift down first.
- Arrange rather than stuff the tissue around the upper edge.
- Add a tag to the handle; use ribbon only if it contributes something.
For a transparent or open-top bag, wrap the object loosely in tissue first so the reveal still has a moment.
Method 3: Bundle it in fabric
Fabric is forgiving around curves and soft corners. A square cloth, scarf or tea towel can become both wrapping and part of the gift. Centre the object diagonally, bring opposite corners together, then tie or tuck the remaining corners. Heavy objects need strong fabric and a secure knot; decorative fabric alone is not a carrying handle unless the wrap is designed for that job.
Method 4: Wrap the body and respect the useful part
Handled jugs, baskets, tools and some sporting items are easier when you leave the handle exposed. Wrap the main body, gather or fold the paper neatly around the base of the handle, then hide the transition with a band of cardstock, tissue or ribbon. This looks deliberate and keeps the gift easy to carry.
Key trick: reinforce the paper from the inside before cutting an opening for a handle. A small square of clear tape on the hidden side prevents the slit from running.
Method 5: Make a paper parcel around a soft object
For a sweater, blanket or stuffed animal without a box, first create a firm shape. Fold the item into a compact rectangle and wrap it loosely in tissue. Slide a piece of cardstock underneath if it needs a base. Now the outer paper has edges to follow instead of collapsing into every hollow.
What about round objects?
For tins and cylinders, roll the paper around the side and deal with each circular end separately. Short, evenly spaced pleats create a cleaner end than two enormous crushed folds. If the object is nearly spherical, a fabric bundle, tissue-lined bag or box will usually look better and use less tape.
When the gift is enormous
Do not automatically cover every centimetre. Join kraft-paper panels for a large box, cover the object with fabric and add an oversized tag, or wrap only the most recognizable section for the reveal. For something that cannot safely be wrapped—such as assembled furniture—use a card, ribbon or trail of clues instead.
What usually does not work
- Stretching one sheet until it tears over a protruding part.
- Using tape as structural support.
- Wrapping a fragile object directly with no protective layer.
- Adding a box so oversized that the contents slide around.
- Creating an elaborate disguise that makes the gift difficult or unsafe to carry.
A compact awkward-shape kit
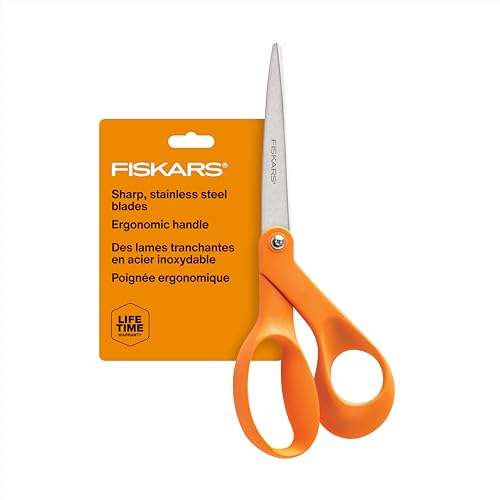
Keep strong scissors, ordinary tape, double-sided tape, kraft paper, tissue, a few useful bags and two or three collapsible boxes. That small collection handles far more situations than a cupboard full of occasion-specific paper.

Related wrapping help
Choose another wrapping problem · Turn a box into a giant sweet · Build a gift box