
Practical wrapping
A bottle is not difficult because it is round; it is difficult because the neck invites loose paper, the base is heavy and glass needs honest handling.
The recipe
Difficulty: Easy to moderate · Time: 10–20 minutes · You need: tissue, paper or cloth; tape or a knot; ribbon or tag · Best for: wine, oil, syrups and tall jars.
Method 1: pleated paper collar
- Cut paper tall enough to cover the bottle plus at least half the bottle height above the top.
- Roll the bottle with a 3–4 cm overlap and tape the vertical seam.
- Fold the base inward in small overlapping wedges and tape flat.
- Stand the bottle up. Pinch the paper around the neck, forming even pleats rather than crushing it.
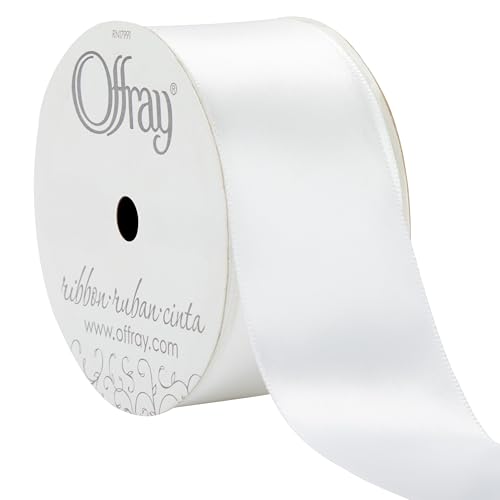
- Tie ribbon below the top and fan the excess paper.
Heavy coated paper fights the pleats; medium kraft or ordinary gift wrap behaves better. If the base looks bulky, put the bottle in a shallow box or use cloth instead.

Method 2: furoshiki-style cloth
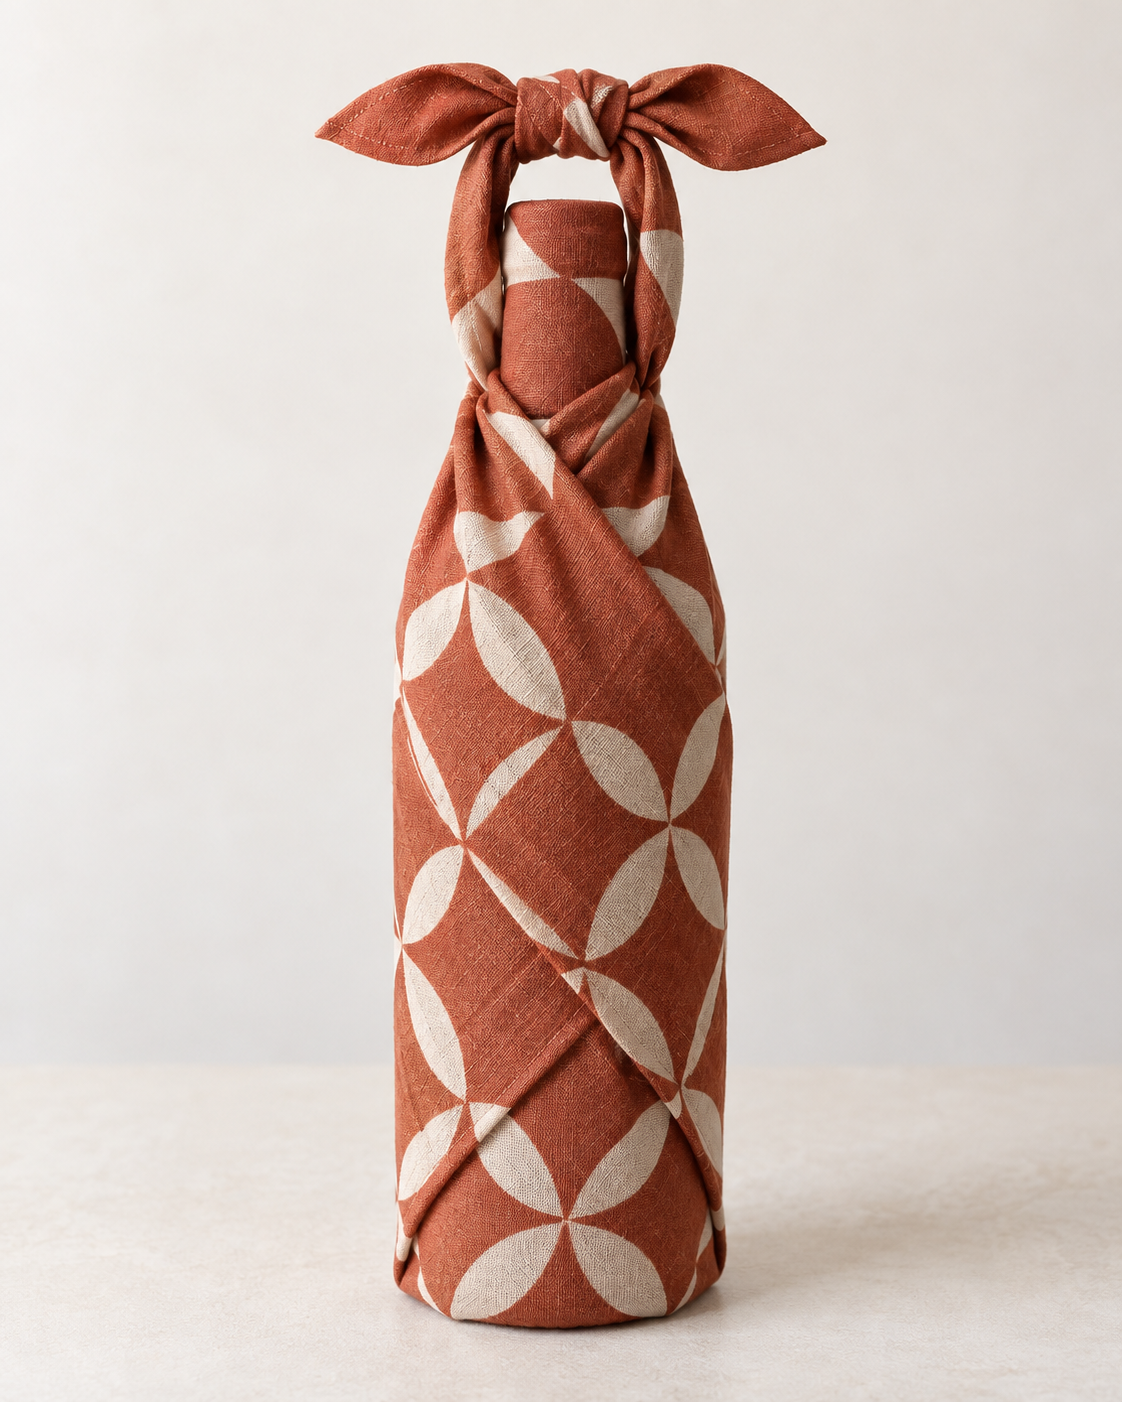
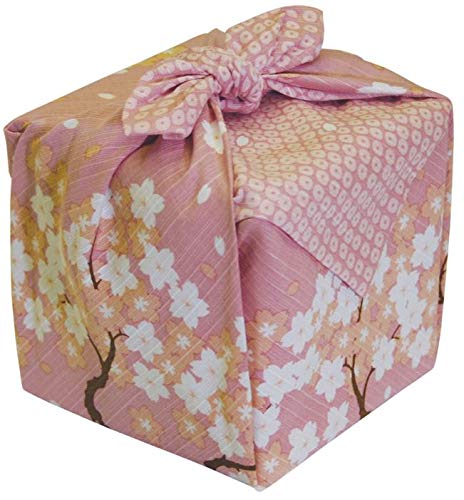
Lay a large cloth like a diamond, place the bottle near one corner and roll it toward the opposite corner. Stand it upright and tie the side corners securely above the shoulders. For two bottles, place them apart, roll toward each other and cushion glass from glass.

Method 3: make the label the presentation
For an attractive bottle you are handing over directly, skip full concealment. Add a wide paper band, a handwritten tag and one length of ribbon. This is fastest, uses the least material and avoids pretending a bottle is a box.
What goes wrong
The base tears: use a reinforced paper disk or shallow box. The collar collapses: use narrower pleats and tie lower. The bottle slides in cloth: begin with a snug roll and use cotton rather than slick satin. It is being mailed: stop. Decorative wrapping belongs inside a rigid shipping carton with bottle-rated protection.
Best-looking finish
Repeat one visual element: black washi on kraft, white ribbon on printed paper or a tag cut from the same paper as the collar. One confident decision is stronger than a pile of curls.